Earlier this year, I decided to try to set aside a few days per month for experimentation. Allowing our minds to open and taking time to try new things has not only been a total blast, but has allowed us to incorporate newfound photography techniques perfected during days of experimentation into actual client photography work as well.
This time, we experimented with cutouts and crochet for unique lighting patterns in studio portraits.
We started by cutting hole-puncher sized holes into a small piece of black paper and placing the paper in front of a background light. Before photographing, I thought we would end up with a polka-dotted background, but was I wrong. Interestingly, because of spread, when the light passed through the holes in the paper, the light was actually traveling in different directions, instead of straight through the holes, so the resulting background pattern wasn't circular at all. In fact, if I hadn't just told you, I bet you never would have guessed that the resulting patterns came from a hole-y piece of paper. In addition, we learned that the distance between the light and the paper and the paper and the background also greatly affected the resulting pattern.
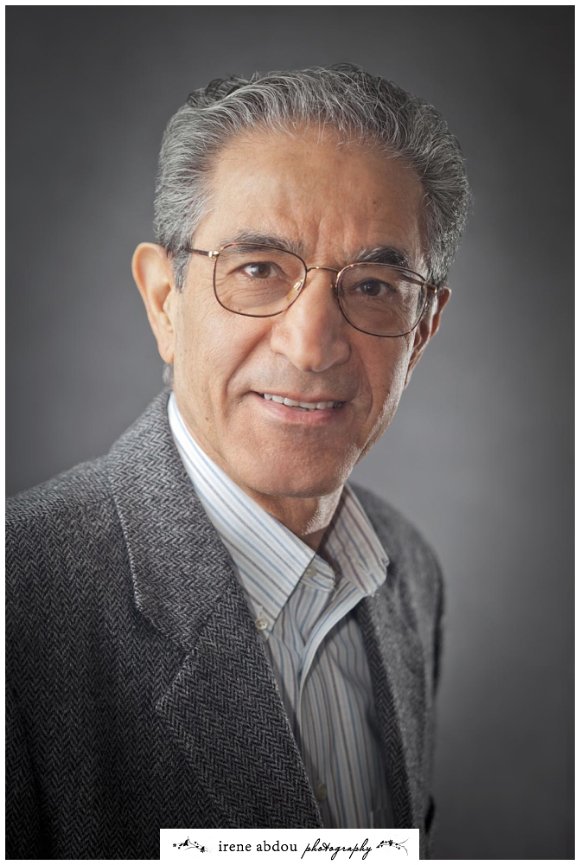
Next, we pulled down a grey seamless paper backdrop and switched out the black hole-y paper for a new piece of paper with a chevron pattern cut through it. The paper was small, which is why you can see a square edge in the background pattern in the resulting portraits. The last image in the set of portraits below is a pullback shot of the lighting setup we ended with.
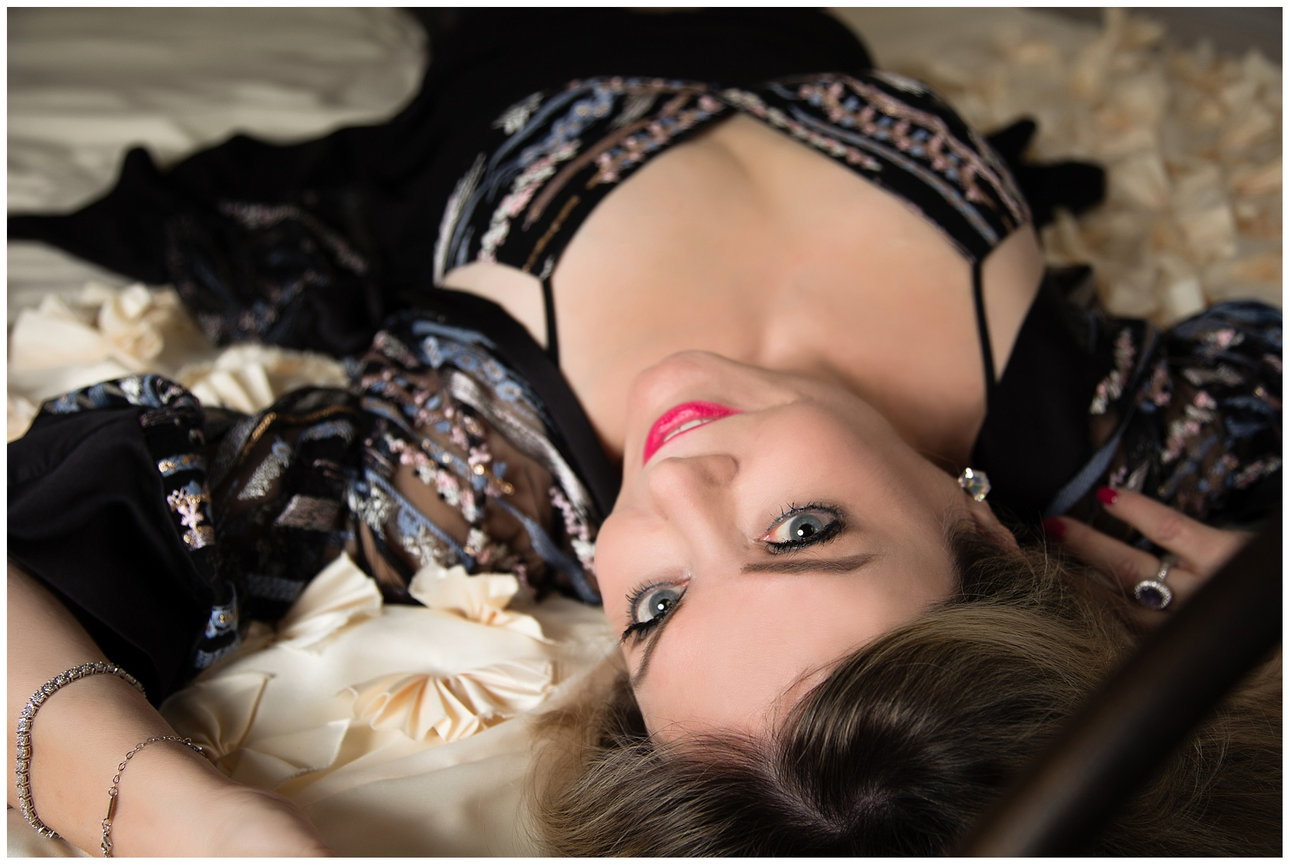
For the final set of creative portraits below, I grabbed different tops from my closet with holes in them... lace, crochet, etc, and experimented with holding them over the camera lens. I found that if the pattern of holes in the fabric was too fine, I couldn't see a difference between with vs. without. My favorite fabric was a crocheted sweater that had more space between the yarn and that I could stretch and move to position it just right so that I could see Idrissa's face through a hole in the fabric. The top left portrait below is without the sweater; the other two portraits are with the sweater.
The ending lighting setup was as follows:
- Main light in front of and to the right of the subject: 26" octabox
- Fill light to the left of the subject: 6' vertical silver reflector
- Edge light behind the subject and to the left: bare flash
- Background light: bare flash behind chevron paper cutout
And as I write this blog post on creative portraits, I have a new idea. What if I were to hang that crocheted sweater in front of the background light? 'Tis a project for another day.
Searching for a creative photographer?
Seeking to become a better photographer?


0 Comments